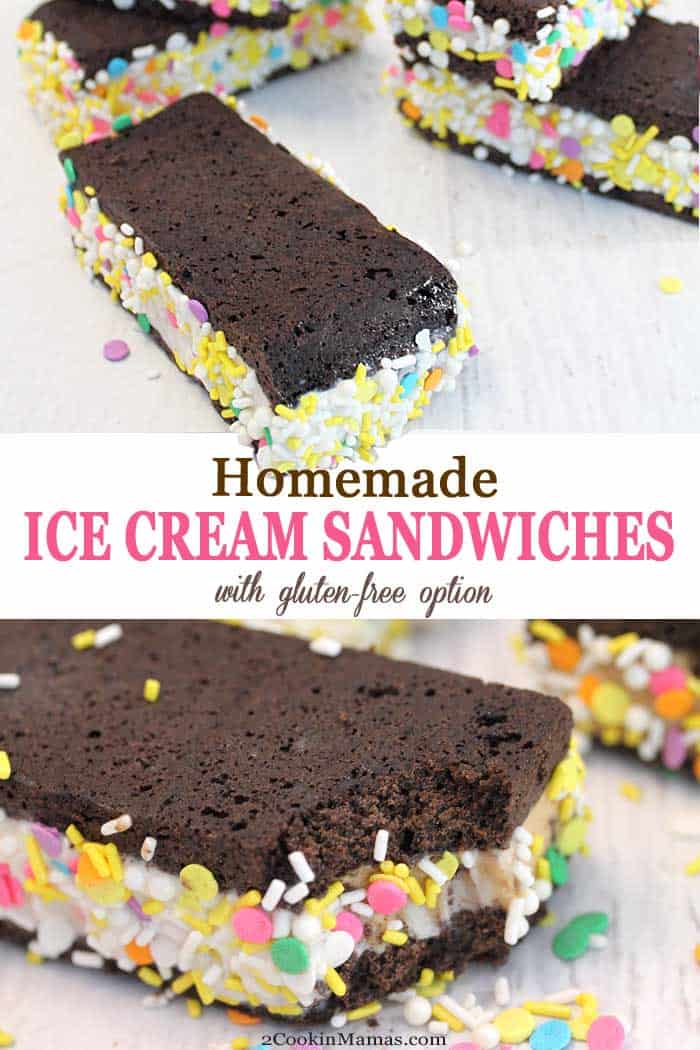
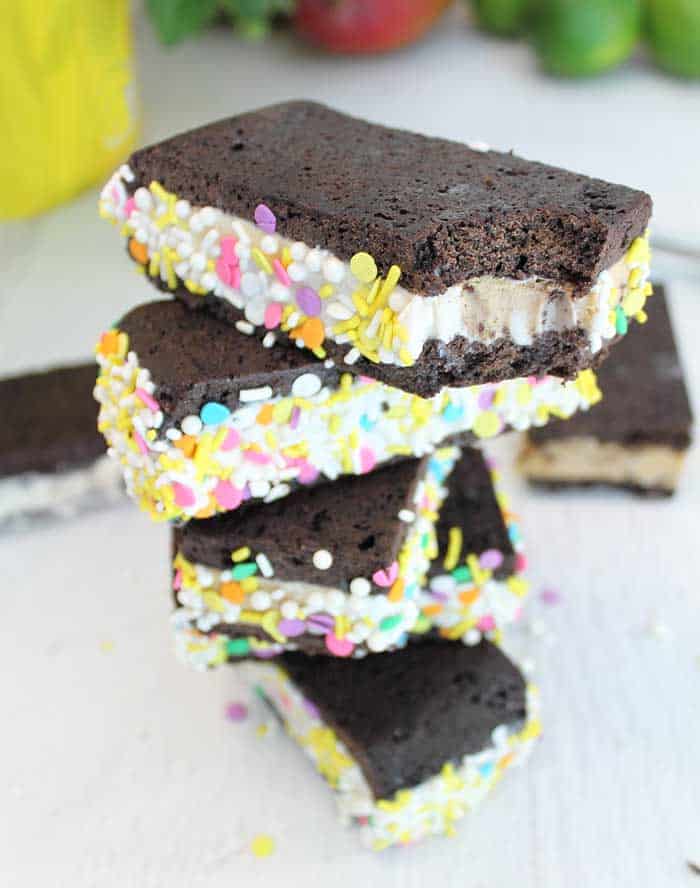
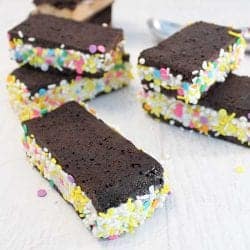
It's easy to make your own homemade ice cream sandwiches. Just bake up these easy chocolate wafers, choose your favorite ice cream, add some sprinkles to match the season and enjoy! And there's even a gluten-free and dairy-free option!
National Ice Cream Month is just around the corner in July so what could be more appropriate or fun than making your own ice cream sandwiches at home?
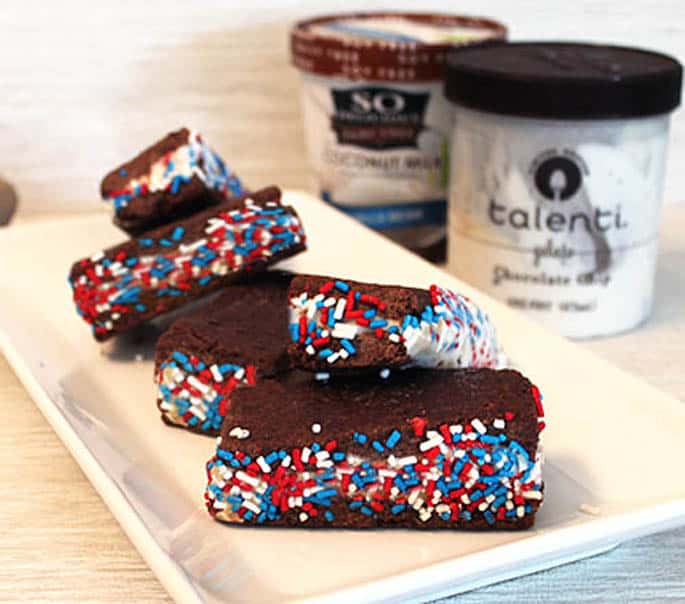
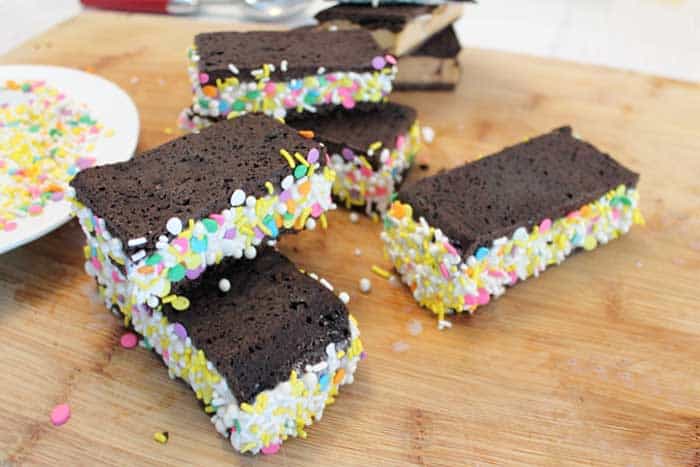
These were super easy to make and went together so easily that I can see myself making them for numerous occasions. These happened to be made in all the bright pastels for summertime but they could also be made with red white and blue sprinkles for the 4th of July or, if you love ice cream all year long like we do in Florida, with red and green for Christmas.
I baked these wafers up two ways, one with regular all-purpose flour and one with a gluten-free flour and, no matter which way I made them, they turned out absolutely amazing!
How to make Homemade Ice Cream Sandwiches
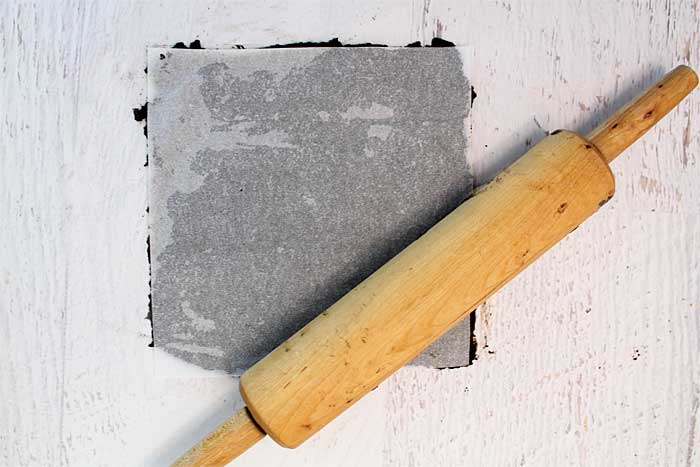
Mix all dry ingredients together. Add wet ingredients until it forms a pliable dough. Divide into 4 portions and roll each between 2 pieces of parchment paper.
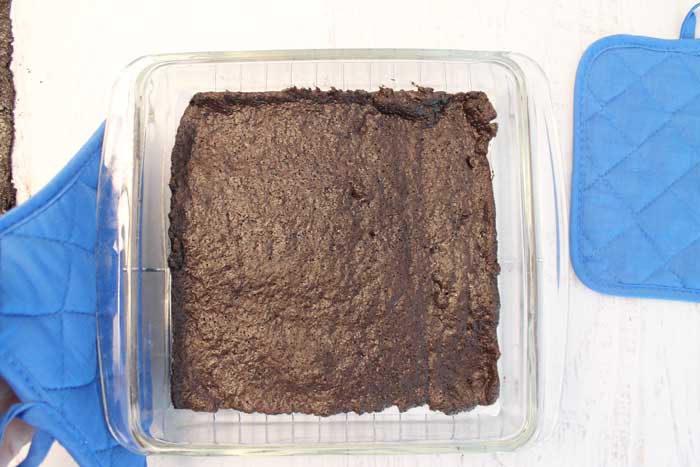
Place each square of dough in an 8x8-inch baking dish, leaving parchment paper on bottom, and bake for 10 minutes. I used two baking dishes and baked them in two batches.
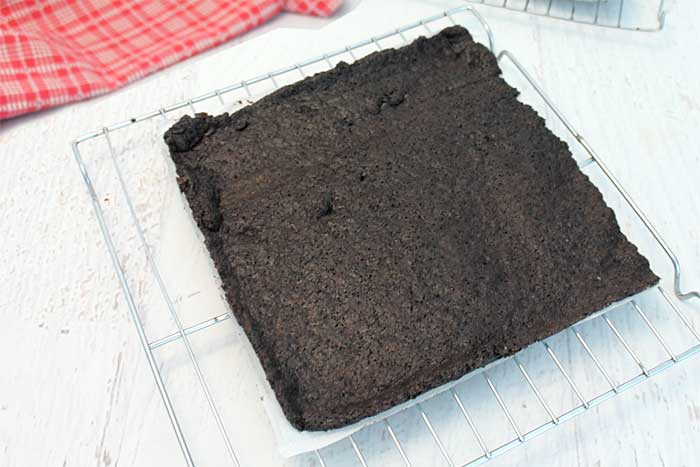
Remove to wire rack to cool.
Once cool, place back in cleaned baking dish that has been lined with parchment paper that extends up the sides. This makes it a little easier to remove once the sandwiches have been frozen.
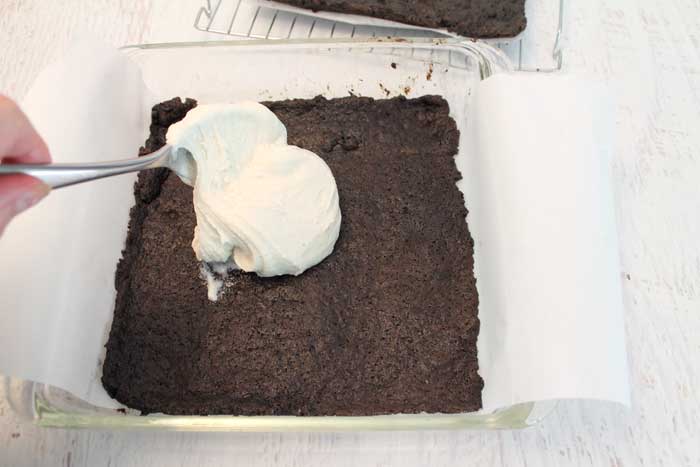
Add your favorite ice cream, that has been allowed to soften, to top of chocolate wafer and spread out.
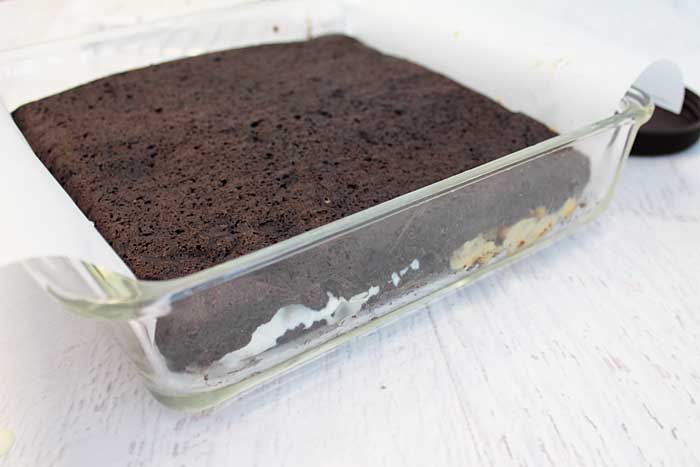
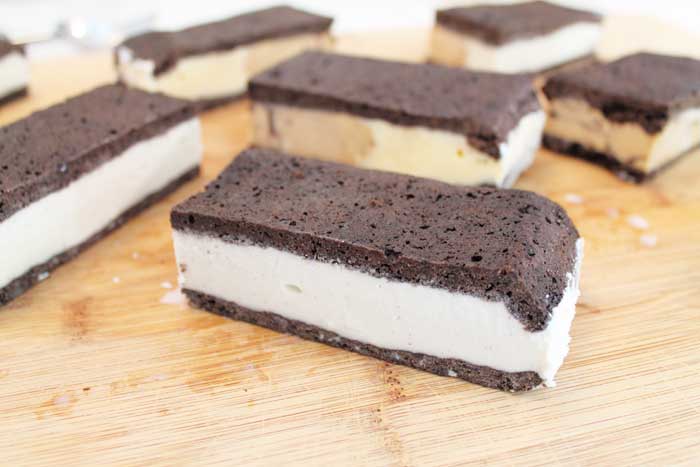
Place another chocolate wafer on top and press gently to even out the ice cream.
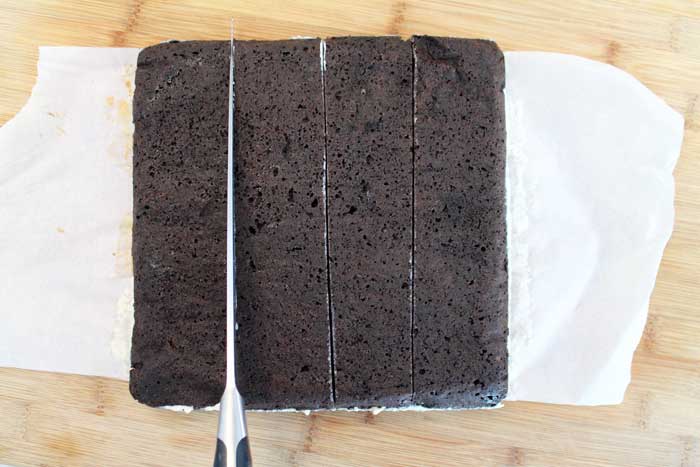
Place in freezer for a few hours until frozen. Remove from freezer, lift out, and cut each square into 8 rectangles.
You can leave them as is or....
Dip into sprinkles and enjoy!
Each sandwich can now be wrapped in plastic wrap and stored in the freezer, ready for whenever you want a cool treat.
These ice cream sandwiches are so versatile. Not only can they be made regular or gluten-free but you can fill them with your favorite flavors of ice cream, gelato, easy no-churn coffee ice cream or no-churn white chocolate ice cream or, if you're looking to make them dairy-free, they can be filled with an almond or soy based ice cream.
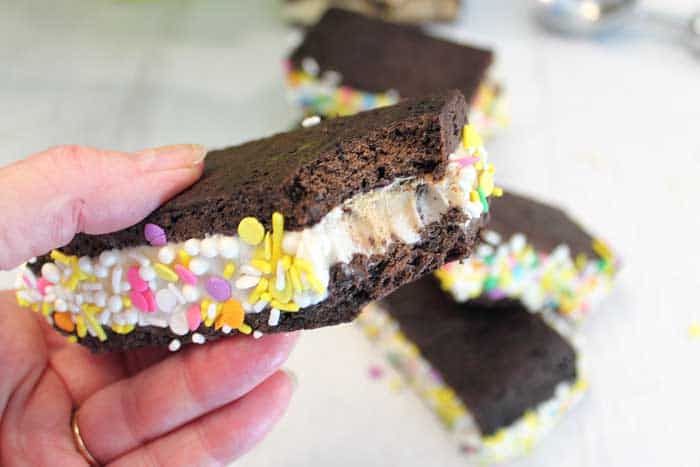
Now take a bite! It's cool, creamy and oh so much better than any ice cream sandwiches you can buy in your neighborhood grocery store! And, the good part, you know exactly what's in them. No artificial preservatives or fillers here!
Don't you just want to get up and go make some now? They can be ready in 30 minutes then just wait for them to chill. It really is the perfect treat for summer!
HOMEMADE ICE CREAM SANDWICHES
Ingredients
- 1 ¾ cups flour (use gluten-free flour if needed)
- ¾ teaspoon xanthan gum (add only if making gluten-free version & flour does not contain it)
- ⅛ teaspoon baking soda
- ¼ teaspoon salt
- ½ cup unsweetened cocoa powder
- ¼ cup granulated sugar
- ½ cup light brown sugar, packed
- 6 Tablespoons Crisco, melted (or coconut oil)
- 3 Tablespoons butter, melted (or butter substitute)
- 2 eggs, room temperature
- 2 teaspoons vanilla extract
- 3-4 small containers of your favorite ice cream, dairy or non-dairy
Instructions
- Preheat oven to 325 degrees. Have 2 8x8-inch square pans ready. Cut 6 pieces of parchment paper into 8x8-inch squares.
- Mix dry ingredients together in a large bowl making sure there are no lumps.
- Combine remaining liquid ingredients, starting with Crisco, and add to dry mixture. Once well mixed the dough should be pliable and hold together well.
- Divide dough into 4 equal pieces and roll each out between 2 pieces prepared parchment. Make the dough square just slightly shorter than the paper so it fits well into bottom of dish. It should be approximately ¼” thick. Trim edges to make a nice even square.
- Place 1 square, with parchment paper still on bottom, into one of the 8” square dishes. Repeat with the other square into remaining dish.
- Place both baking dishes in preheated oven. Bake for 10 minutes.
- Let cool on rack about 10 minutes prior to removing carefully from pan and setting on wire rack to cool.
- Repeat rolling, cutting and cooking with remaining 2 squares of dough.
- Line both square baking dishes with a long piece of parchment paper that comes up over sides. This will give you something to grab to help lift out completed ice cream sandwiches
- When wafers have cooled, remove original piece of parchment paper from bottom of wafer and place one wafer into the bottom of each of the 2 8x8-inch prepared dishes.
- Spread slightly soft ice cream over each of the wafers. Place remaining wafer on top or each dish and press down carefully in order to spread ice cream evenly.
- Cover with plastic wrap and place in freezer until firm.
- When ice cream is frozen, about 4-5 hours, remove from freezer, lift out and place on cutting board. Cut into equal-sized rectangles. I usually get 8 small sandwiches out of each dish (2” wide x 4” long).
- At this point you can wrap each individually with plastic wrap or dip ice cream edges into sprinkles (such as bright pastel colors for summer or red, white & blue for a patriotic holiday) and then wrap in plastic wrap. Store in freezer until ready to eat.
Notes
This post has been updated since first being posted on July 21, 2014.
DON'T MISS A RECIPE!
FACEBOOK | TWITTER | INSTAGRAM | PINTEREST


