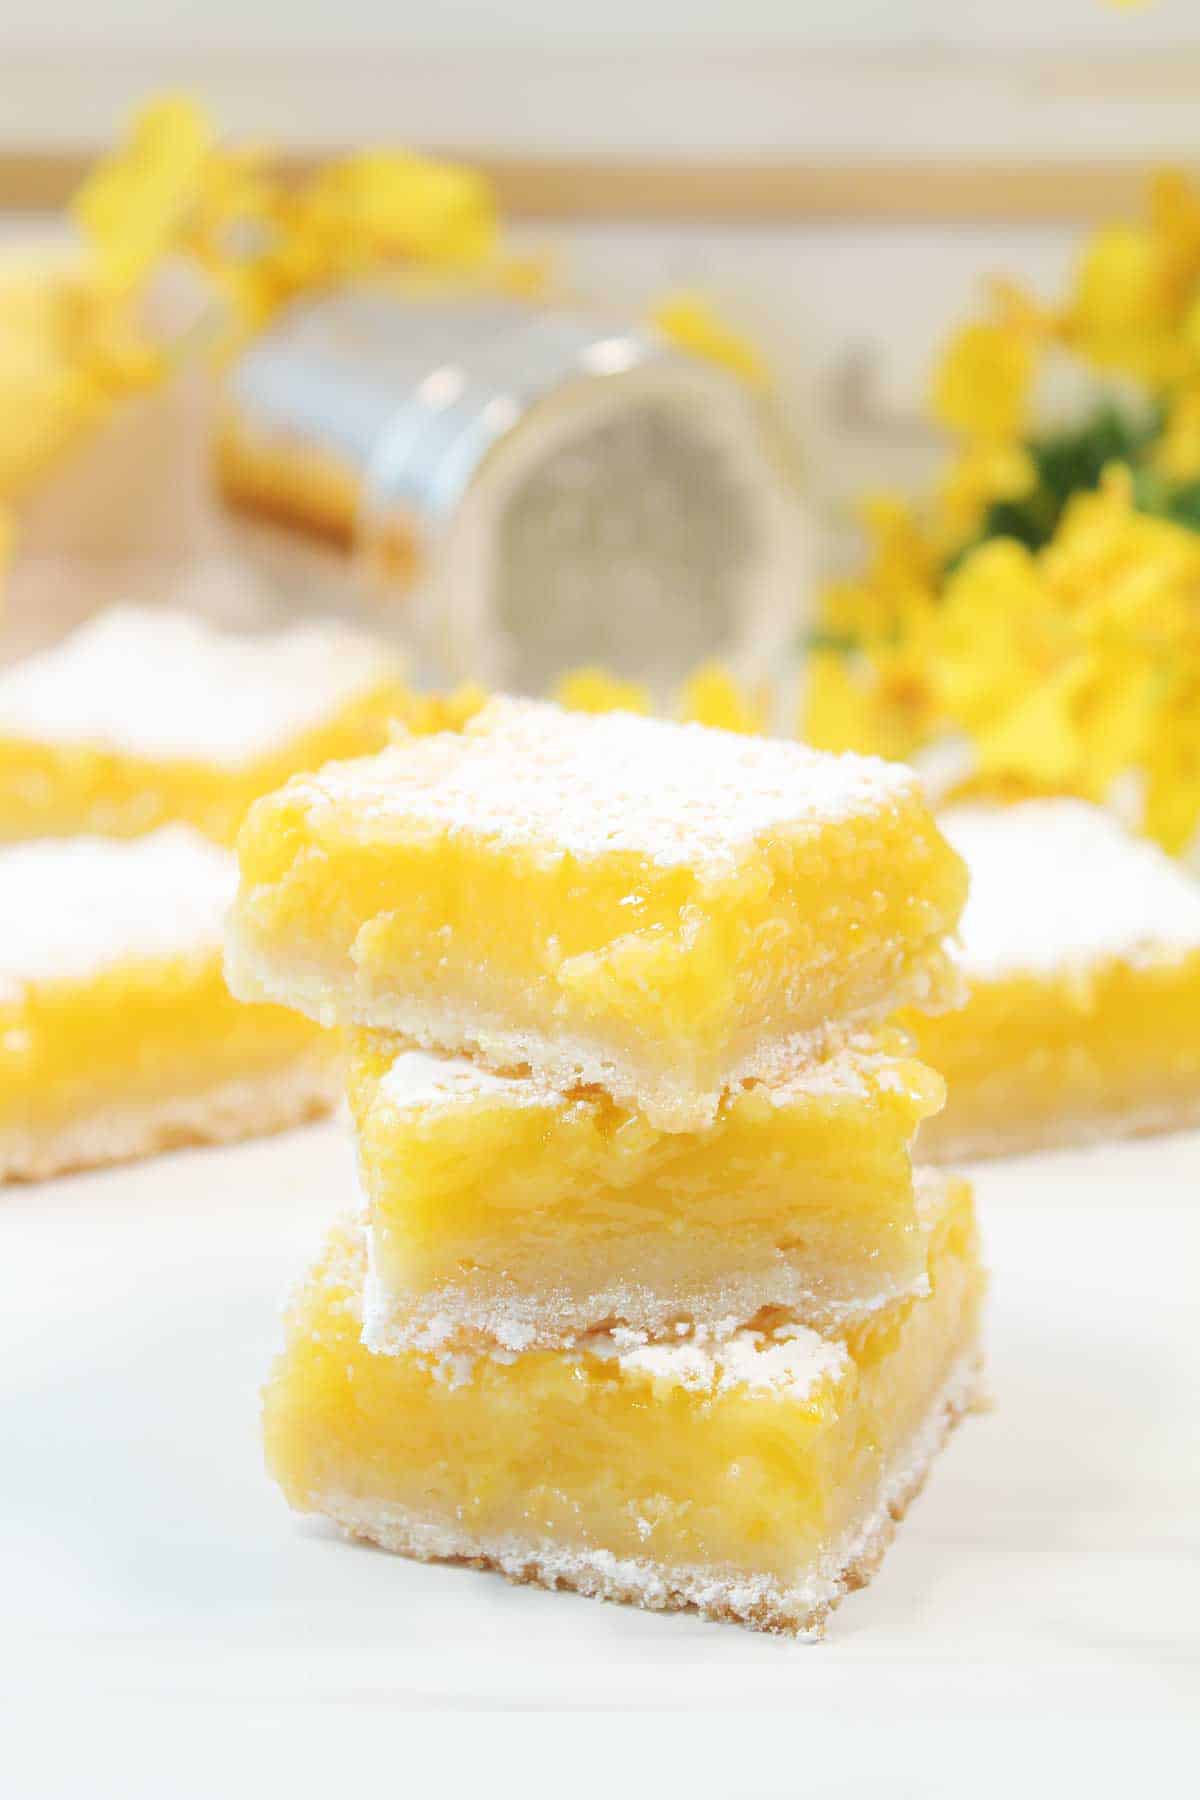
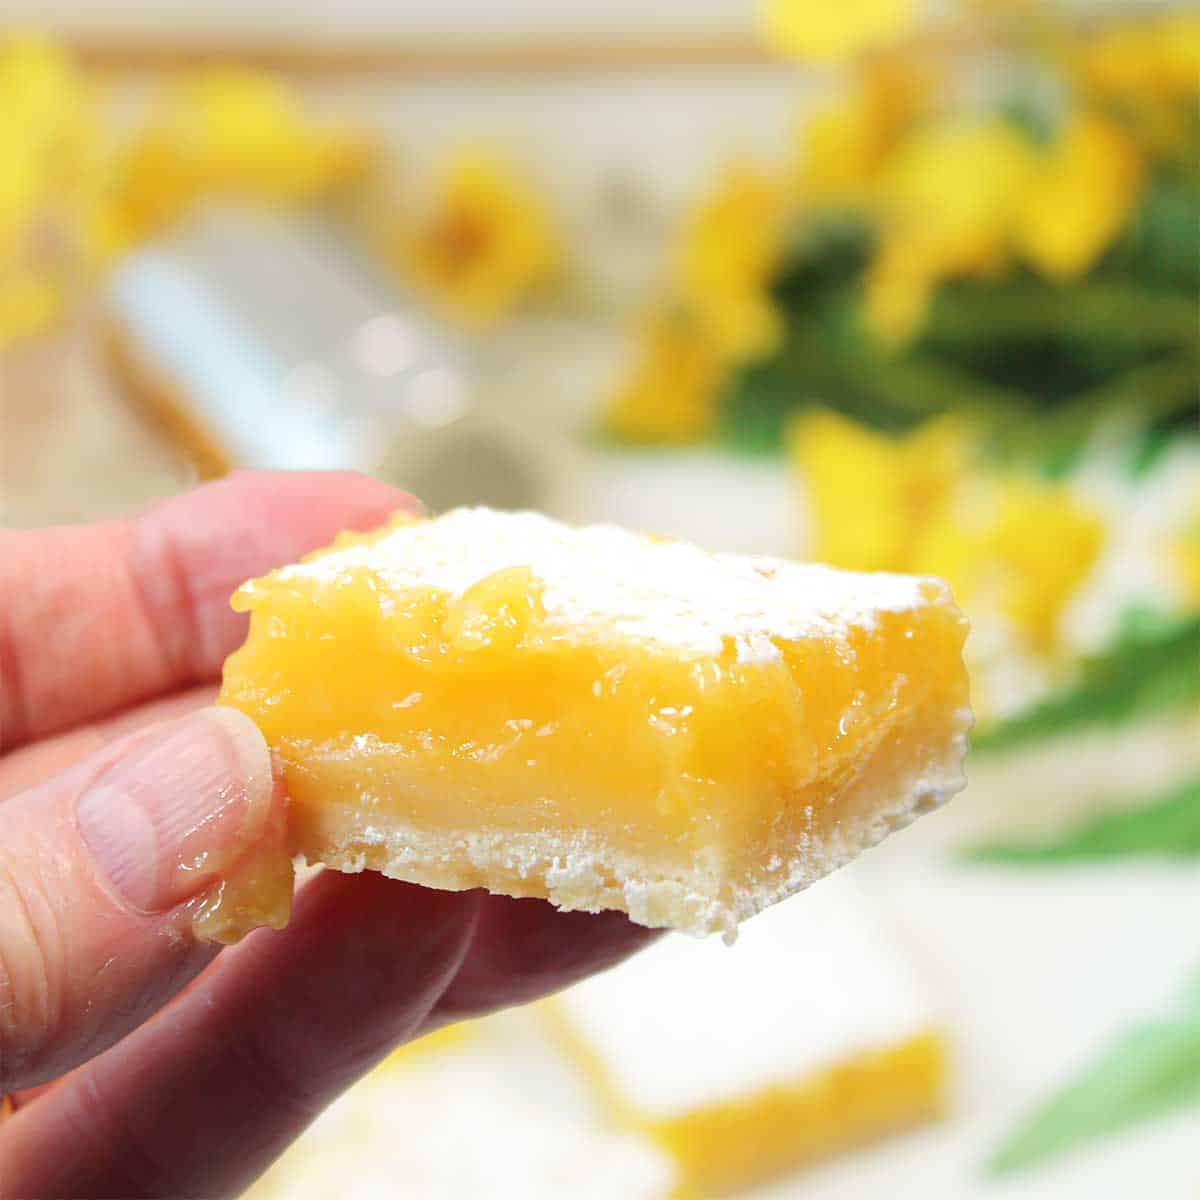
Gluten free Lemon Bars are rich, refreshingly sweet, and slightly tart. A buttery shortbread crust is covered with luscious lemon filling & sprinkled with powdered sugar for the perfect lemon lovers' dessert. It's like a little lemon pie you can hold in your hand!
Perfect for Spring, Easter, Thanksgiving, and Christmas holidays.
FYI - This post contains affiliate links. As an Amazon Associate, I earn from qualifying purchases. All links are products I use when making my recipes.
Table of Contents
Gluten Free Lemon Dessert
Just because you're eating gluten-free doesn't mean you can't indulge in your favorite lemon desserts. The new 1:1 gluten free flours perform similarly to all-purpose flour and can be substituted in most recipes. These Lemon Brownies are a great example of subbing in a gf flour or just stick with this Lemon Blueberry Cheesecake with an almond crust that doesn't need any flour. Yep, these recipes allow everyone to indulge in a little lemon deliciousness!
This gluten free lemon bar recipe reminds me of lemon pie but, since it's in bar form, you can hold it in your hand. Yum, a pie that you can grab on the go - woohoo! It's tangy & sweet all at the same time with a wonderful buttery cookie to hold it all together. If you love lemon, you'll love these bars!
Why You'll Love This Gluten Free Lemon Bars Recipe
Shortbread crust - buttery and crispy
Custard filling - cool, silky, and smooth
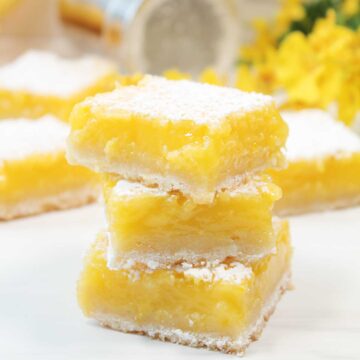
Great party treat - cut them into rectangular bars, squares, or bite-sized ones for party trays.
Easy to customize to add other yummy fruit flavors, switch up the crust, or make them dairy-free. See the recipe variations section below.
Ingredients

For the shortbread cookie lemon bar crust:
- Butter
- Gluten-free baking flour (1:1)
- Powdered Sugar
- Salt

For the lemon custard filling:
- Eggs
- White granulated sugar
- Gluten-free baking flour (1:1)
- Lemons for the juice and zest
Topping for bars:
- Powdered sugar
Best Gluten Free Flour for Lemon Bars
I recommend these gluten free flours to make the lemon bars:
- Bob's Red Mill Gluten Free 1-to-1 Baking Flour
- King Arthur Gluten Free Measure for Measure Flour
How to Make Gluten Free Lemon Bars
For the lemon bar crust:

- Place gluten free flour, salt and powdered sugar in a medium bowl.
- Mix well.
- Pat into the bottom of a square baking dish that has been lined with a piece of parchment.
- Bake for 18-20 minutes at 350°F or until light golden brown around the edges. Remove to a wire rack to cool while making lemon filling.
For the lemon filling:

Want to save this recipe?
- Beat or whisk eggs in a large bowl.
- Add sugar, gluten-free flour, and lemon zest.
- Pour in lemon juice.
- Beat well. Mixture should be smooth and without lumps.
- Pour into prepared baking dish.
- Bake at 350°F for 20-25 minutes. The filling will jiggle just slightly when done but will gel as it starts to cool. Let cool for 1 hour on a wire rack then another 1-2 hours in the refrigerator for easier cutting and handling.

Lift the lemon bars out with the edges of the parchment paper. Remove parchment paper and place on a wooden cutting board. Cut them into 16 equal squares with a very sharp knife. Wipe the knife clean in between each cut. Finish these creamy lemon bars with a dusting of powdered sugar.

I like to serve these lemon dessert bars cold right from the refrigerator for the best consistency and ease of handling. Enjoy!
Recipe Tips
- Measure the flour properly. Spoon it into a dry measuring cup and level it at the top of the cup.
- Only grate the top yellow outer layer of the lemon to get the zest. Don't grate the white layer below it.
- Rub lemon zest into granulated sugar with your fingers. This will release lemon oil and give an extra boost of deep lemon flavor.
- Use fresh lemons because bottled lemon juice won't have as good flavor as fresh lemon juice. Plus you need the zest of the lemon.
- Use Meyer lemons if available.
- Line the pan with parchment paper for easy removal of the bars after baking.
- Don't overbake the bars. They may not seem totally set when you take them out of the oven but they'll continue to set as they cool.
- Allow the bars to cool completely and chill for at least an hour for the filling to set before cutting them.
Recipe Variations
These sweet and tangy lemon bars are easy to customize for added fruit flavors, different crusts, and diet preferences. Here are some ideas:
- Blueberry Lemon Bars: Stir 1 cup of fresh blueberries into the filling or add a thin layer of blueberry preserves or jam between the crust and the filling.
- Cranberry Lemon Bars: Stir a cup of fresh cranberries into the filling, or add a thin layer of cranberry sauce between the crust and the filling.
- Raspberry Lemon Bars: Stir 1 cup of fresh raspberries into the filling or add a thin layer of raspberry jam or preserves between the crust and the filling.
- Gluten Free Dairy Free Lemon Bars: Use Smart Balance butter or vegan butter instead of regular butter.
- Gluten Free Lemon Bars with Graham Cracker Crust: Use finely crushed gluten-free graham crackers instead of flour.
Gluten Free Lemon Bars with Almond Crust
Here's how to make an almond crust for the lemon bars:
- 2 cups blanched almond flour, super-fine or fine grind
- 6 tablespoons white granulated sugar
- 3 tablespoons cornstarch
- ¼ teaspoon salt
- 6 tablespoons cold butter, diced
- Place the dry ingredients in a medium bowl and whisk to combine.
- Add the cold butter and work it in with a fork or pastry blender until the mixture is evenly combined and crumbly.
- Pour the mixture into the prepared pan and press the crust evenly into the bottom.
- Bake the crust for about 8 to 10 minutes, until it's light golden brown.
Note that almond flour is high in fat and this recipe will make a more cake-like crust instead of a shortbread cookie-like crust.
What to Serve with Lemon Bars
These lemon bars are delicious plain or with a dusting of powdered sugar or a dollop of whipped cream on top. Lemon bars are best enjoyed slightly cool or at room temperature.
Serve lemon bars with coffee or tea. They're great for dessert, tea time, or as an afternoon snack.
How to Store and Freeze Lemon Bars
Store leftover gluten free lemon bars in an airtight container or ziptop bag at room temperature for up to 3 days or in the refrigerator for up to 5 days.
Freeze the bars on a parchment paper-lined baking sheet with room between them. Once frozen, wrap them with a layer of plastic wrap then either a layer of aluminum foil or place the plastic-wrapped bars in a freezer-safe container or plastic freezer bag. They will last up to 3 months in the freezer. Thaw them in the fridge overnight.
Frequently Asked Questions
Yes, lemons are naturally gluten-free.
Most store-bought and homemade lemon bars contain gluten because they're typically made with wheat flour, both in the crust and the custard filling.
One regular-sized lemon contains about 2 to 3 tablespoons of lemon juice.
This gluten-free lemon bar recipe requires ½ cup of juice (8 tablespoons), so you'll need 4 to 5 lemons.
Give the pan a little shake. Continue baking if the filling is loose. If the filling barely jiggles, your bars are done. If the filling doesn't move at all, you've probably overcooked your bars.
When stored properly, lemon bars will last up to 3 days at room temperature, up to 5 days in the refrigerator, or up to 3 months in the freezer.
A lemon can stay good for up to 1 week at room temperature or up to 3 weeks in the refrigerator. Cut lemons can stay good for up to 3 days in the fridge.
More Gluten Free Cookie Recipes
Find lots of easy cookie recipes for every season and occasion right here on 2CM!
LOVE QUICK & EASY RECIPES? FOLLOW ME ON INSTAGRAM, FACEBOOK, & PINTEREST FOR ALL THE LATEST RECIPE INSPIRATION! PLUS JOIN MY EMAIL LIST AND RECEIVE A FREE E-BOOK.
Gluten Free Lemon Bars
Ingredients
Crust
- ½ cup butter, melted
- 1 cup 1:1 gluten-free flour
- ¼ cup powdered sugar
- 1 pinch salt
Lemon Filling
- 4 eggs
- 1 ½ cups sugar
- ¼ cup 1:1 gluten-free flour
- ½ cup lemon juice, fresh (about 2-3 lemons)
- 2-3 teaspoons lemon zest (zest from 1 lemon)
- Garnish: powdered sugar
Instructions
- Preheat oven to 350 degrees. Prepare an 8x8-inch pan by lining with parchment paper. Extend the parchment paper up both long sides of the pan so that you can easily lift the finished bars out in one piece to cut. I also leave extra on the short sides, about half way up, just enough to hold the crust and filling.
- Mix flour, salt, and powdered sugar in a medium bowl. Drizzle in melted butter and mix until it becomes a dough.
- Pat into the bottom of the prepared pan. Bake 20 minutes then set on a wire rack to cool slightly.
- While the shortbread crust is baking, beat or whisk eggs then add all remaining ingredients for the filling and mix until smooth.
- Pour into slightly cooled cookie crust and return pan to oven for an additional 20-25 minutes of baking time. The filling should slightly jiggle when you move the pan.
- Remove from oven to wire rack and let cool for 1 hour then set in refrigerator for 1-2 hours to make it easier to cut.
- When ready to cut, lift out the entire bar by the parchment paper to a wooden cutting board. Dust with powdered sugar. Cut into 16 pieces. Store in the refrigerator in a covered container, with wax paper between layers, or place back in the baking dish and cover with plastic wrap.
Notes
Want to save this recipe?
Nutrition
This post has been updated with an improved recipe, new photos, and step-by-step directions. It was first published on December 19, 2013.