Learn how to make Roasted Red Pepper Quesadillas that the whole family will love. They're a delicious combination of roasted peppers, onion, black beans and bacon and just oozing with cheese. Served on toasted tortillas, these ingredients pack a flavorful punch. All you need is a skillet and 15 minutes for a quick lunch, a tasty dinner, or a warm appetizer for game time.
I really love Mexican flavored dishes. No, I mean, I really, really love them! You know, recipes like Chicken Enchiladas, Fish Tacos and Smothered Chicken Burritos will always have me come running. However, at least once every couple of weeks I've got to fix this quick and easy Mexican staple, the quesadilla. Quesadillas are easily adaptable for any diet but, for all of us that think bacon should be its own food group, this is the quesadilla for you! It's comprised of roasted red peppers, onions, garlic, black beans and cheddar cheese, with a little bit of bacon thrown in for that smoky, salty flavor. And the smell of onion and garlic cooking in bacon fat will have you drooling way before dinner is ready.
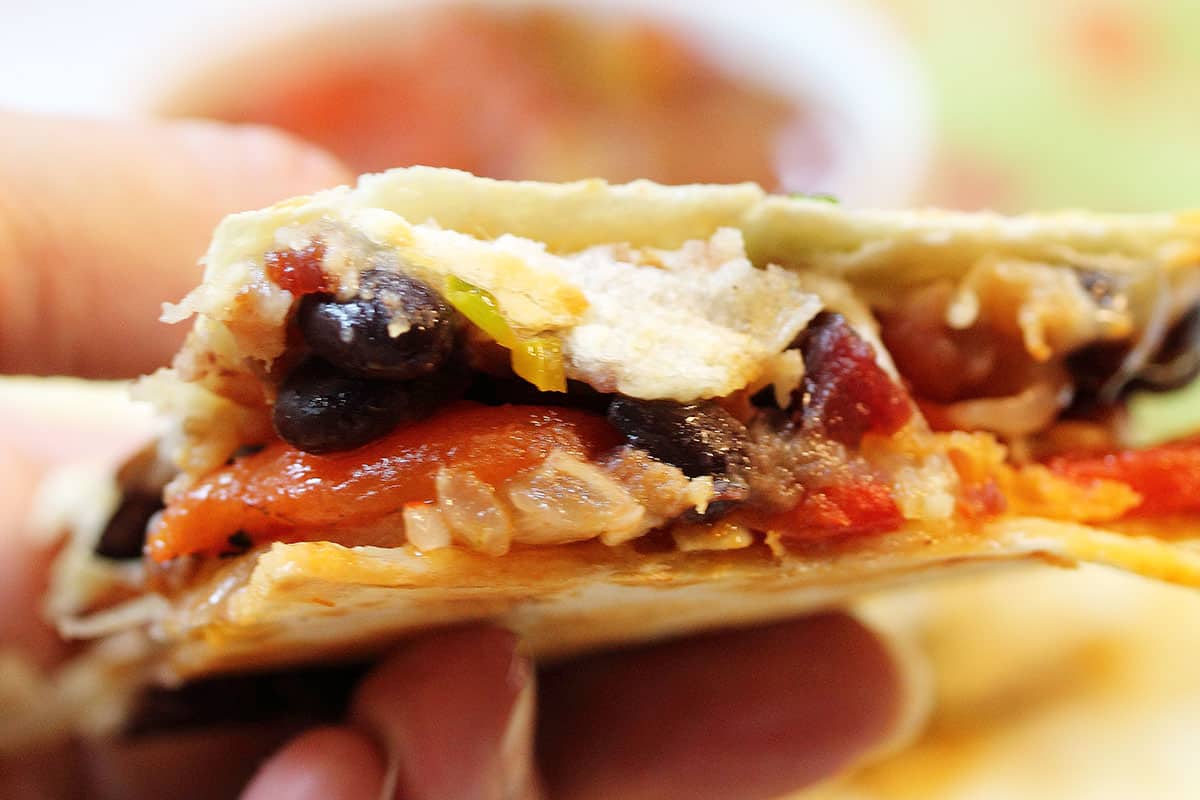
There are two ways to put these quesadillas together. I've shown the stacking method below but you can also place the ingredients in half of the tortilla and then fold it over, cooking both sides. This way is a lot easier to manage and flip in the pan but I like the way I can cut the larger ones with a pizza cutter for pie shaped slices. It will all taste just as delicious, so do whatever you feel is easier for you.
Variations and tips
- Make this roasted red pepper quesadilla vegetarian by omitting the bacon (oh noooo) and using olive oil or coconut oil for preparing onion and garlic.
- Switch out the bacon for rotisserie chicken, cooked hamburger, shrimp or just go for the cheese.
- Opt for mushrooms, spinach or avocado in place of the peppers. Actually, just about any vegetables will work.
- Adapt it for gluten-free diets by using corn tortillas or gluten-free tortillas rather than flour tortillas.
- Want it low carb? Make a cheese tortilla in place of the flour.
- Don't fill the tortillas too full as it will make them harder to keep them together.
- Pro Tip: When browning the tortillas and cooking the quesadillas, do not put any grease or oil in the pan. It's best to use a nonstick skillet.
- When cooking, cook on a medium temperature to allow the cheese to melt as the tortilla browns and crisps up.
- Use a block of cheese you grate yourself. The pre-shredded cheese has a waxy coating to keep it separated and does not melt as well.
- Toasting the flour tortillas helps to improve the flavor. It also helps make them easier to handle when eating.
How to make quesadillas
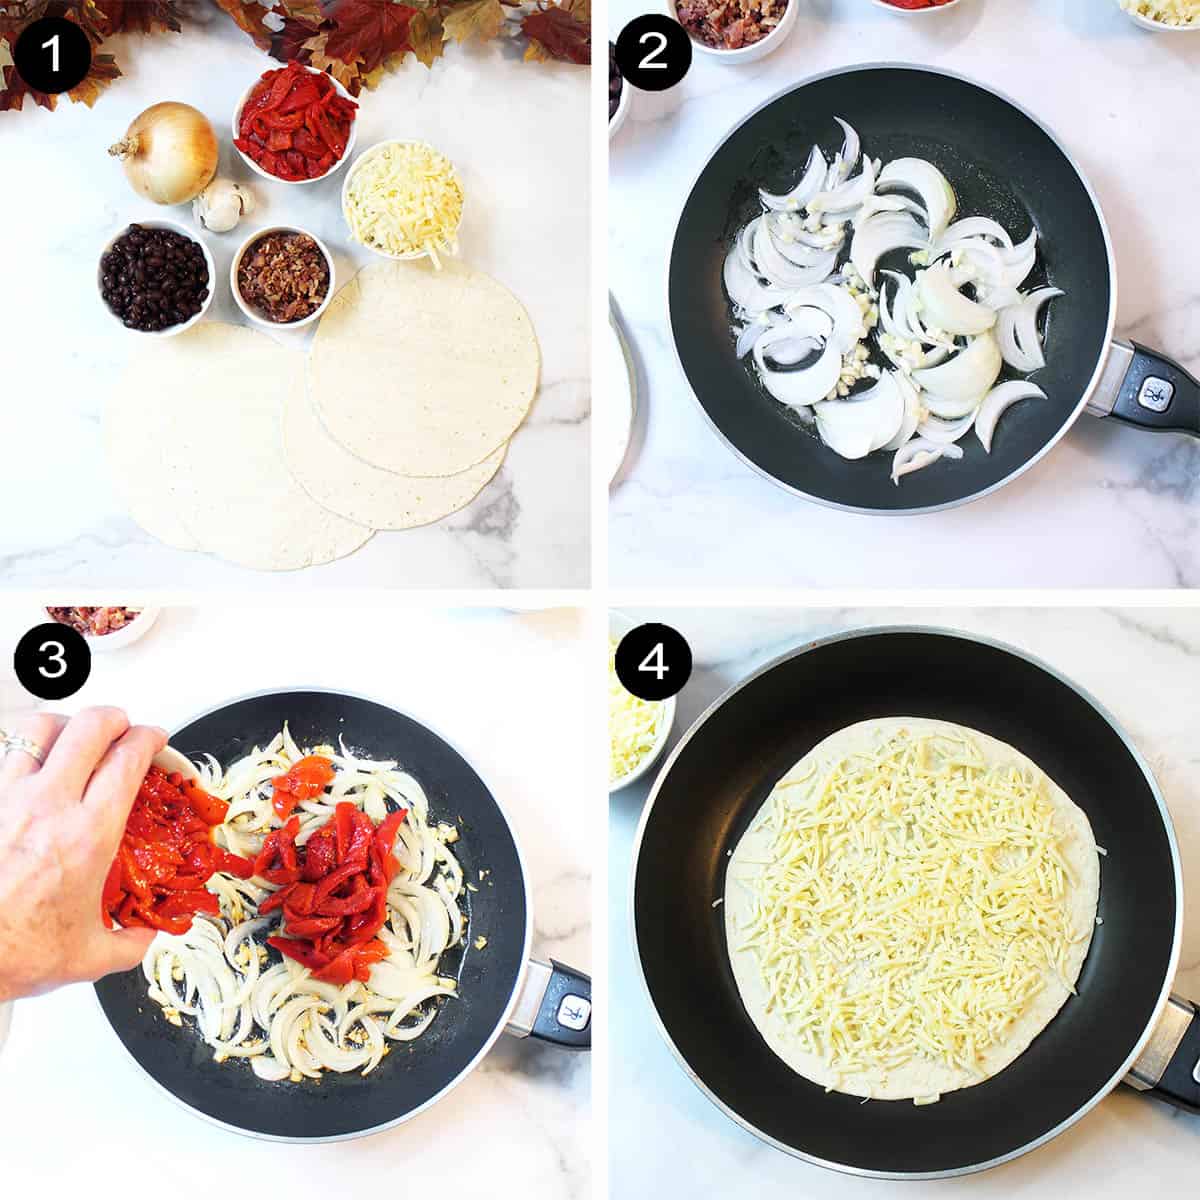
- Gather ingredients - tortillas, crumbled cooked bacon, black beans (make sure they are rinsed and drained), roasted red peppers, onions, garlic and your favorite cheese.
- In a medium nonstick skillet, preferably the one you cooked the bacon in, place sliced onions and garlic in the bacon grease and cook until softened.
- Add the red peppers and cook until just warmed through, about 2 minutes. Remove the veggies from the skillet and place in strainer so they drain. Clean and dry the skillet well.
To assemble, first brown the tortillas on one side in the same skillet. You won't need any extra oil in the pan. This will help firm them up so they hold together better. (not shown)
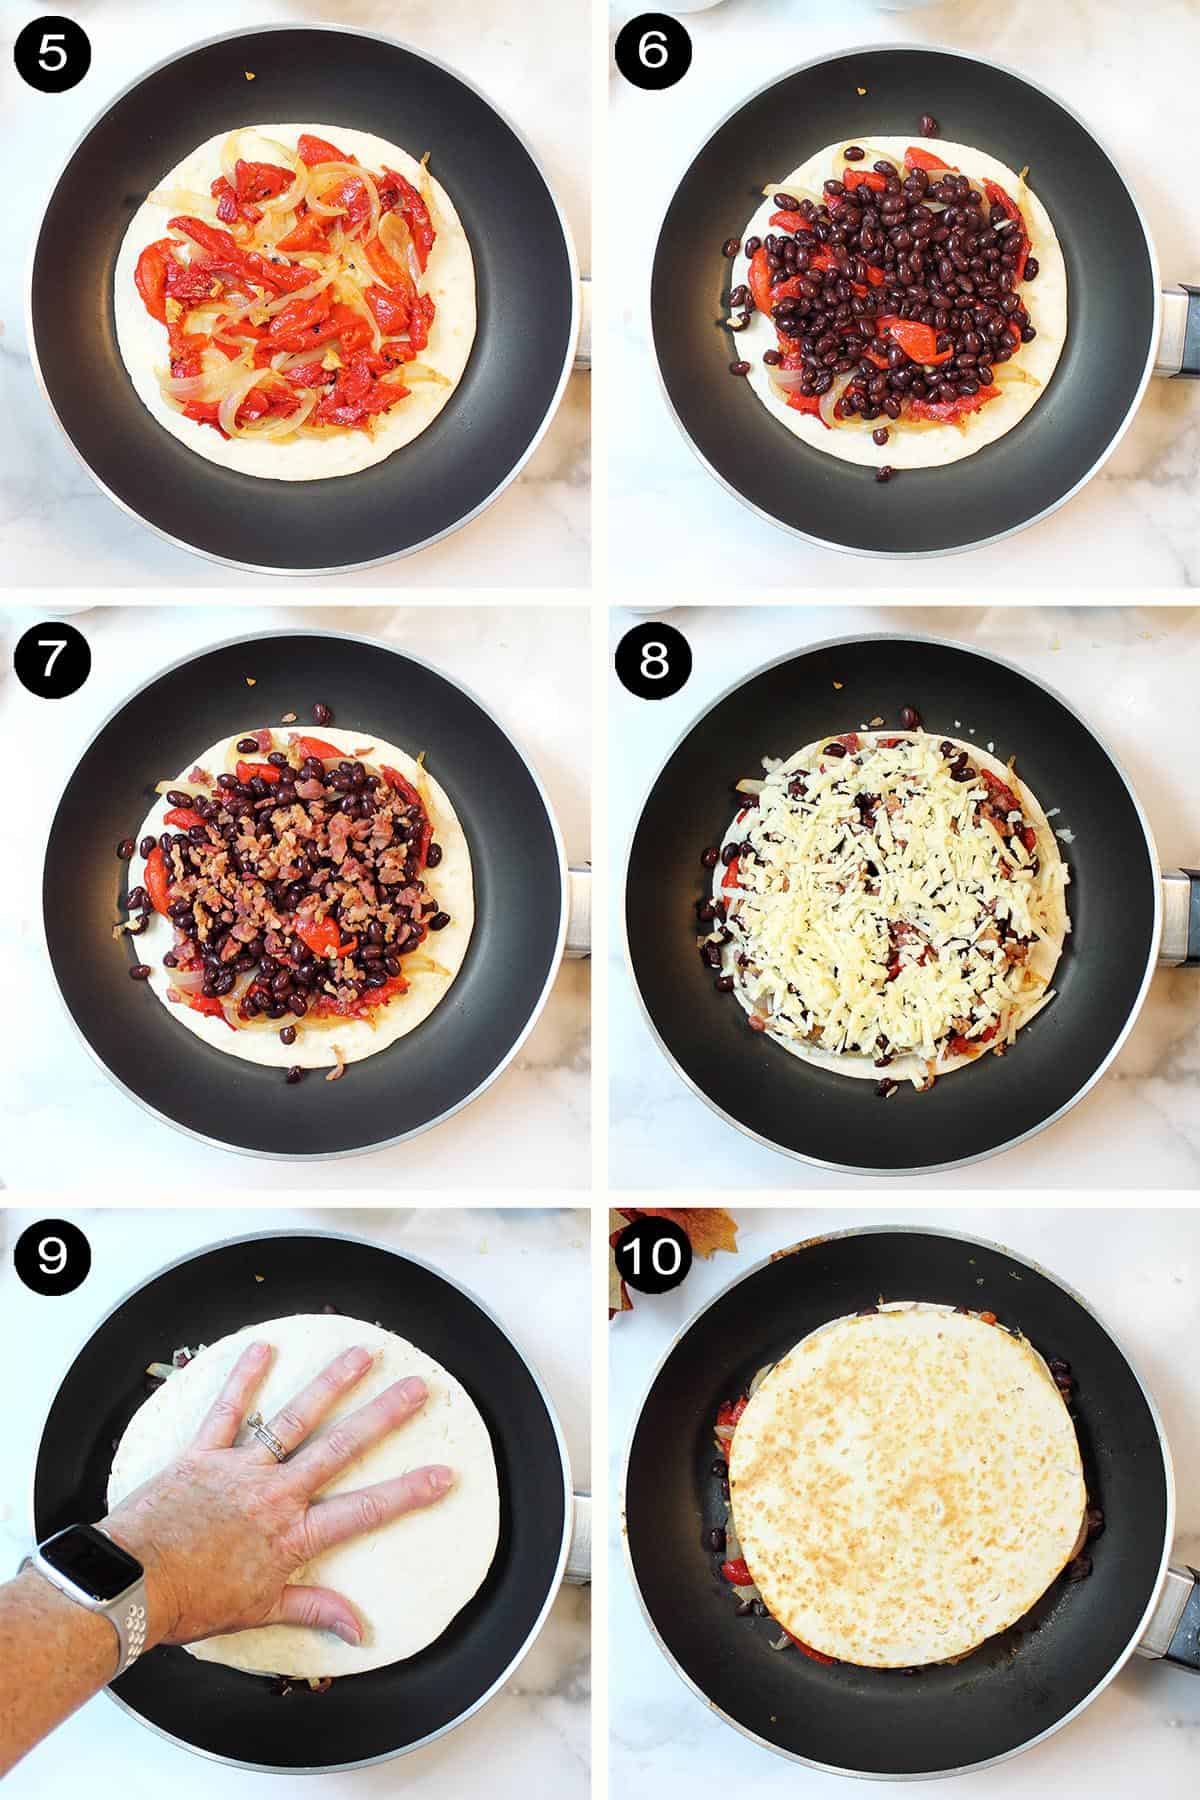
- Place one browned tortilla in pan, toasted side up and sprinkle with about 2 Tablespoons of cheese. Feel free to add more if you're in that ooey gooey cheesy mood.
- Top the cheese with ¼ of the onion-red pepper mixture.
- Place a quarter of the black beans on top.
- Sprinkle on ¼ of the bacon.
- Top with a couple tablespoons of cheese.
- Place another tortilla over the top of the stack, toasted side down, and press down.
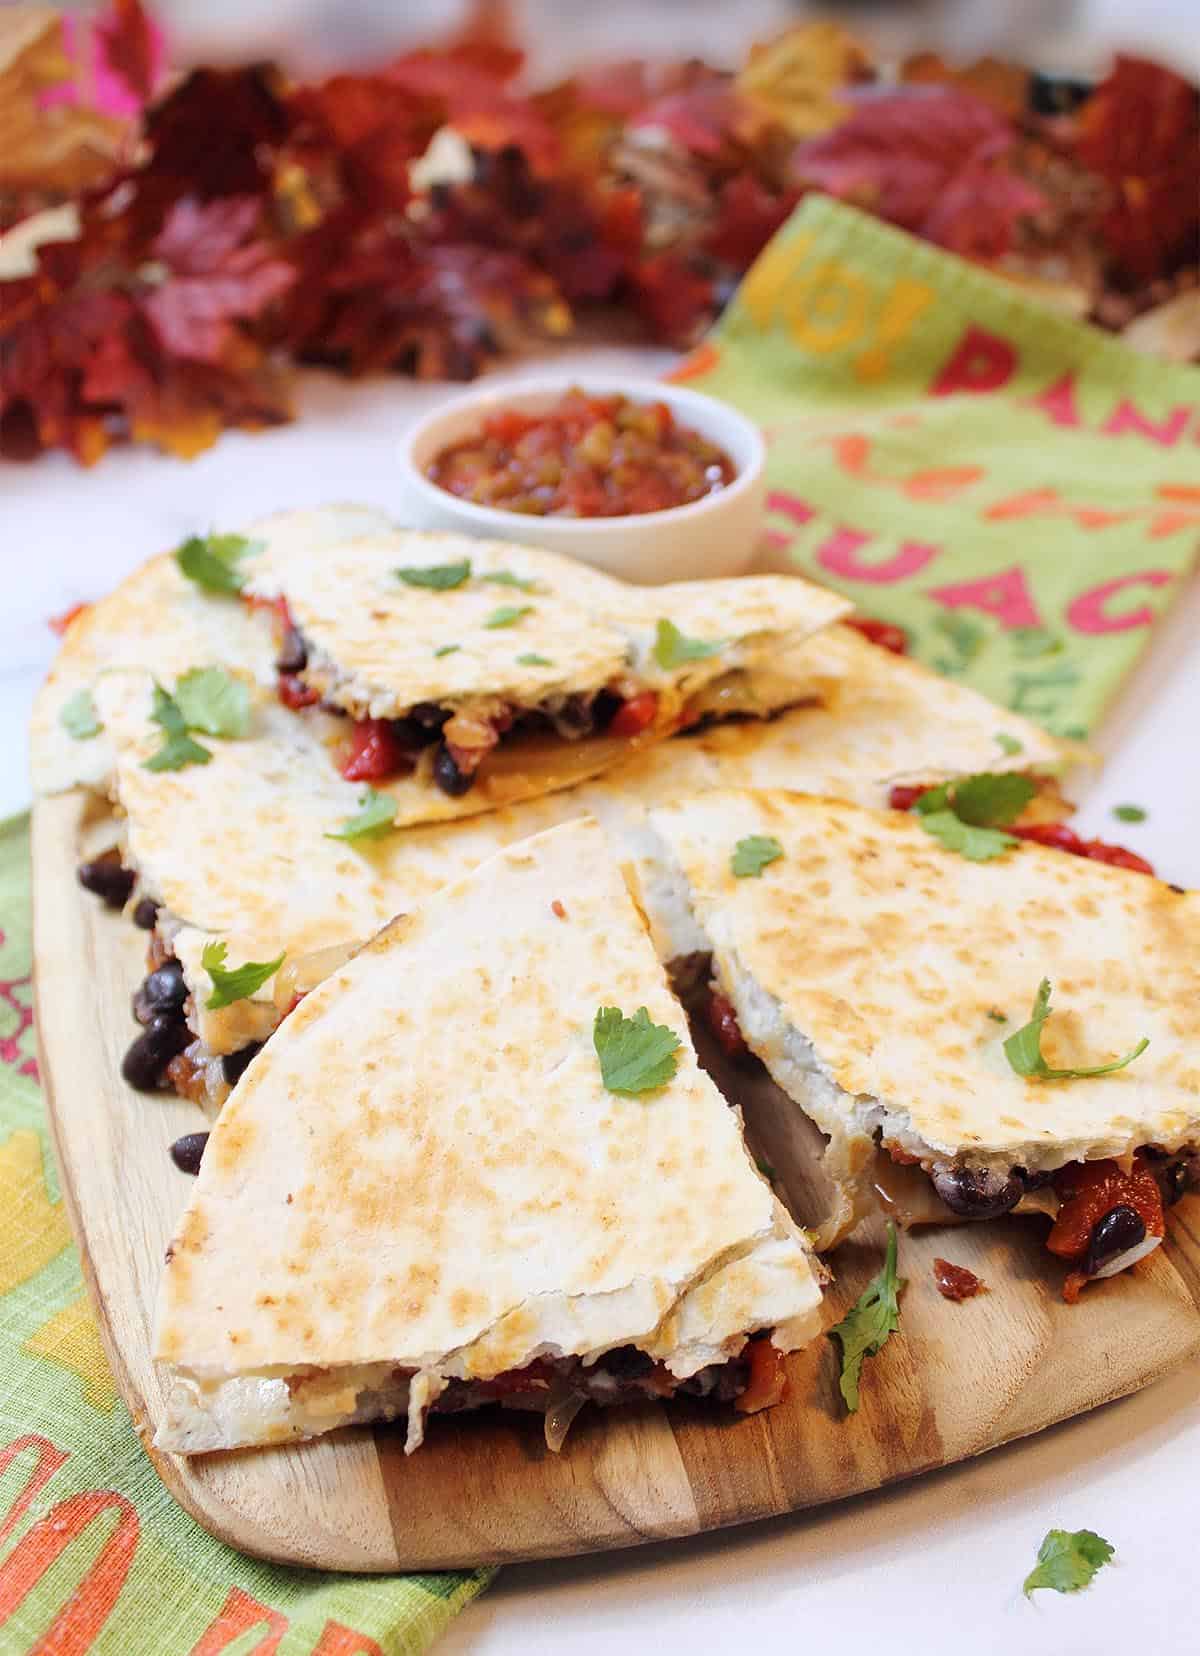
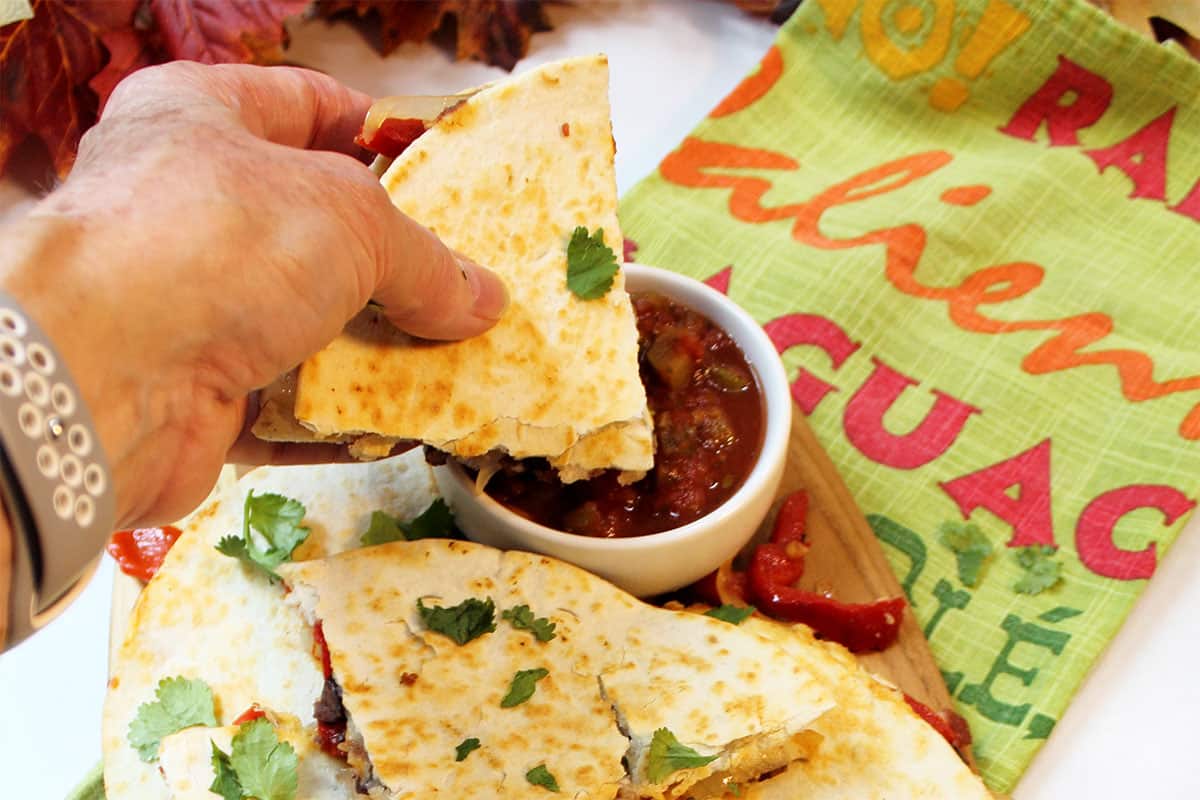
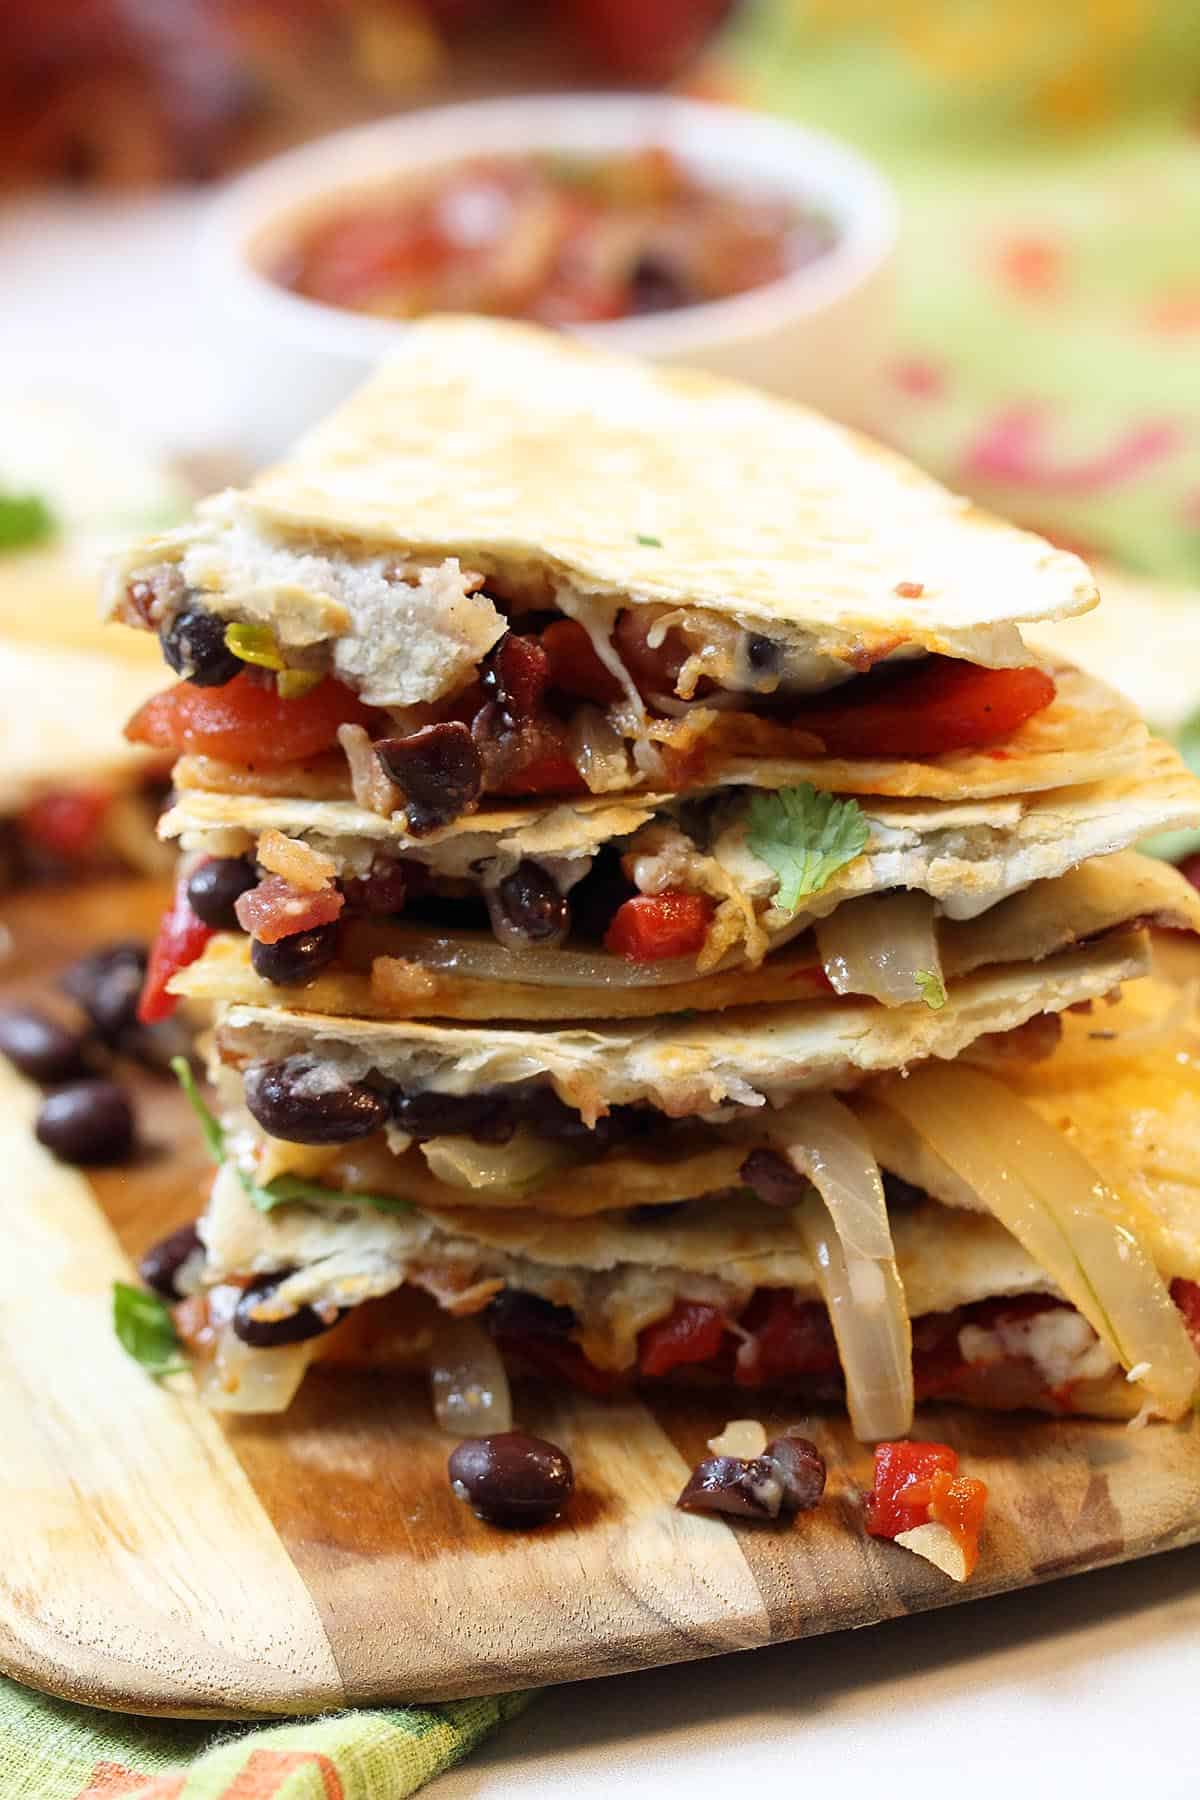
- Place over medium heat and brown on one side then carefully flip to other side and brown. You want it nice and toasted and the cheese melted. The melted cheese will help it hold together. Take out and place on cutting board and cut into fourths with a pizza cutter. Sprinkle with cilantro and serve with salsa and, if you like, sour cream.
My family loves the mix of spicy and sweet flavors and I like the fact that they contain a healthy boost of nutrients as well as protein. These roasted red pepper quesadillas are popular any time of day too. Whether it's lunchtime, an appetizer for game time or an easy dinner, believe me, your family will thank you. Plus they're so adaptable that everyone can make them just the way they like. Enjoy!
More Mexican inspired recipes
Grilled Tequila Lime Chicken Tacos are a quick and easy meal with tons of flavor. A citrus-flavored chicken spiked with tequila goes perfectly on flour tortillas with all the trimmings.
Spanish Rice and Beans from Platter Talk are a quick and easy side dish or vegetarian main that takes less than 30 minutes.
Creamy Beef Enchiladas have all the Mexican flavor you love and goes together in 20 minutes.
Love quick & easy recipes? Follow me on Instagram, Facebook, Pinterest & Twitter for all the latest recipe inspiration! Plus join my email list here and receive a free e-book.
Roasted Red Pepper Quesadillas
Ingredients
- 4-6 pieces bacon cooked and crumbled
- ½ large sweet onion sliced in thin strips
- 4 garlic cloves minced
- 1 cup roasted red peppers sliced in thin strips (or a 12-oz jar)
- 8 flour tortillas or gluten free tortillas
- 1 can black beans drained and rinsed
- 2 cups cheddar cheese shredded (more if you like them really cheesy)
- Serve with cilantro, salsa, sour cream
Instructions
- Cook bacon until crisp in medium non-stick skillet. Remove bacon. Skip this step if you want it meatless.
- Add onion and garlic to bacon fat (or olive oil if vegetarian) and sauté until soft and translucent, about 5 minutes.
- Add roasted red peppers and saute for an additional 2 minutes. Remove vegetables from pan and let them drain.
- Wash pan clean and make sure to dry it well. Place pan back on burner and heat over medium heat. You want to give the cheese time to melt without burning the tortilla.
- Place 1 tortilla in hot pan and brown on one side. Repeat with other tortillas.
To assemble
- For the next part you will have to do one quesadilla at a time. Return 1 tortilla to pan with uncooked side down and sprinkle with a couple tablespoons of cheese.
- Next, add ¼ of the vegetable mixture followed by ¼ each of the black beans and crumbled bacon.
- Top with 2 tablespoons of cheese. Cover with another tortilla, cooked side down. Press down with your hand or a spatula.
- Cook until the cheese just starts to melt and the bottom of the tortilla is browned and crisp. Using a large wide spatula and your hand, carefully flip the quesadilla. Cook until the other side of the tortilla is brown and crisp and cheese is completely melted.
- Remove from pan and repeat with remaining tortillas. Garnish with cilantro then cut each into wedges with pizza cutter. This recipe will make 1 tortilla per person.
- Serve with sides of salsa and sour cream for dipping.
Notes
Variations and tips
- Make this quesadilla vegetarian for Meatless Monday by omitting the bacon and using olive oil or coconut oil for preparing onion and garlic.
- Switch out the bacon for rotisserie chicken, cooked hamburger, shrimp or just go for the cheese.
- Opt for mushrooms, spinach or avocado in place of the peppers. Actually, just about any vegetable will work.
- Adapt it for gluten-free diets by using corn tortillas or gluten-free tortillas rather than flour tortillas.
- Want it low carb? Make a cheese tortilla in place of the flour.
- Don't fill the tortillas too full as it will make them harder to keep them together.
- Pro Tip: When browning the tortillas and cooking the quesadillas, do not put any grease or oil in the pan. It's best to use a nonstick skillet.
- When cooking, cook on a medium temperature to allow the cheese to melt as the tortilla browns and crisps up.
- Use a block of cheese you grate yourself as the pre-shredded cheese has a waxy coating to keep it separated and does not melt as well.
- Toasting the flour tortillas helps to improve the flavor. It also helps make them easier to handle when eating.
Nutrition
This post has been updated with how to instructions and new photos. It was first published on August 4, 2014.



Leave a Reply